


Table of Contents
Preparing Your Child for an MRI
Preparing your child for an MRI starts with explaining what to expect in simple terms and confirming the scanner type with our scheduling team. Our imaging centers in Arizona and Texas use both open and closed MRI systems, so we match the scanner to your child’s needs and comfort level before the appointment.
Children need special preparation because MRI scanners can exceed 100 decibels, and staying still for 30–45 minutes is challenging for young patients. Our team partners with child life experts to help ease any child’s anxiety about the scan while working to avoid sedation whenever possible through education and practice. Structured preparation has been shown to significantly lower sedation rates in pediatric imaging.
Your kid will feel safe and ready because we’ll guide you through every step before the exam.
Key Takeaways
- When your child knows what to expect from an MRI, taking a few simple steps in the days leading up to the appointment will make the visit smoother.
- The MRI machine looks like a big tube that your child will lie inside while we take pictures.
- It’s also tough for kids to lie still during MRIs.
- Once your child has practiced lying still at home, the next step in how to prepare a child for an MRI is dressing for scan day so nothing on the body interferes with the magnet.
- If you bring familiar items from home, such as a favorite blanket, stuffed toy, quiet toy, or picture book, they can give your child a sense of security during the appointment.
Before You Begin
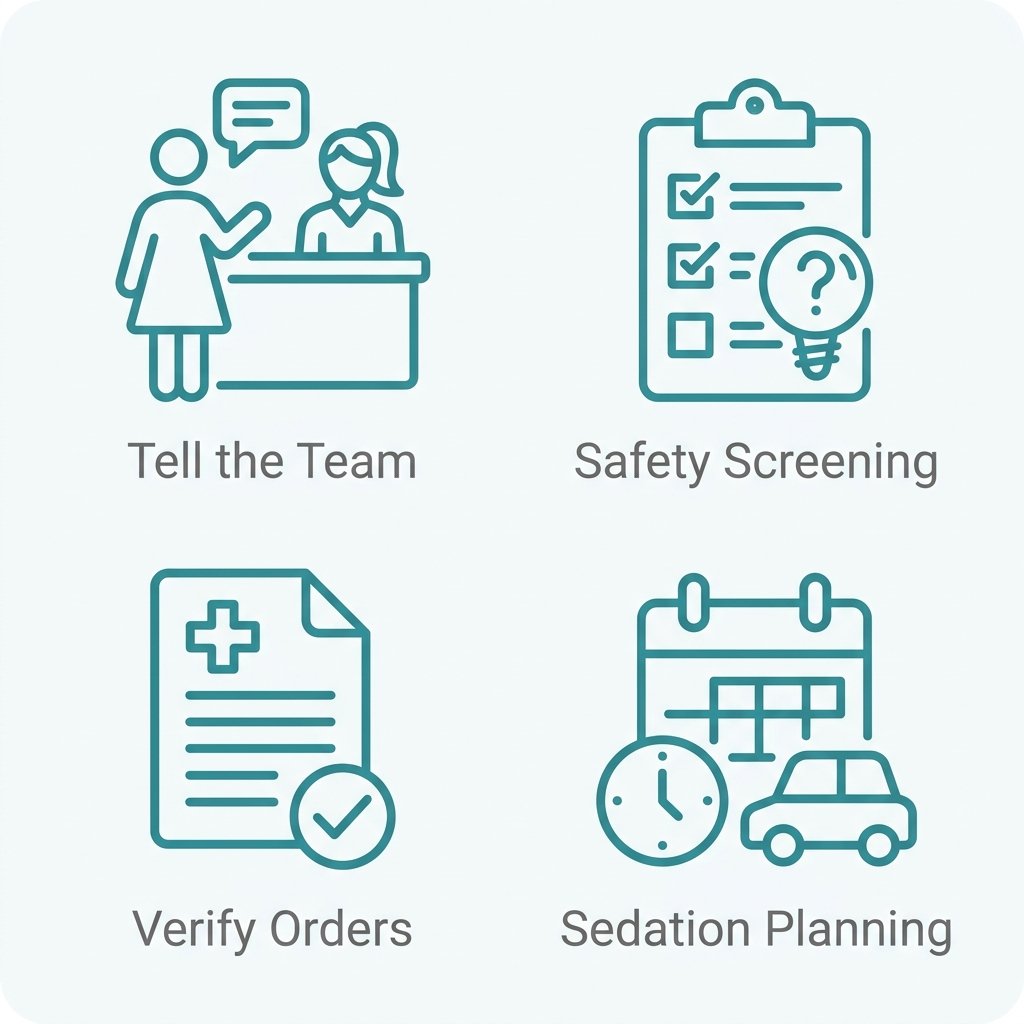
When your child knows what to expect from an MRI, taking a few simple steps in the days leading up to the appointment will make the visit smoother. Our scheduling team and ordering clinician need advance notice about your child’s anxiety or claustrophobia so we can plan the best support and confirm the right scanner type for the exam. Although MRI uses no ionizing radiation, safety screening for medical implants remains essential because some devices can make the scan unsafe.
Physician’s order for imaging and all insurance referrals and pre-authorizations must be in before the scheduled scan date. If your child may require sedation, you should be aware and plan ahead: they will need individualized preparation instructions from their doctor, a recovery plan, and transportation arrangements made in advance.
That taken care of, take your child in to the machine when you get there and walk them around and show them the noises and how the scan works.
Step 1: Explain the MRI Machine and Its Loud Noises
The MRI machine looks like a big tube that your child will lie inside while we take pictures. It’s completely safe and nothing will touch them or hurt during the scan.
Some of the sounds that will be heard are normal and occur in patterns. The machine is “taking pictures” during certain times, when you may notice some loud banging, knocking or thumping sounds. It has been noted that some sound levels exceed 100 dB according to radiologists. In order to protect the hearing of our children we have supplied either ear plugs or headphones to wear during their scan to allow them to hear as little noise as possible.
Let children know that these sounds are normal and a part of the procedure. Let kids know that if they feel nervous, the technologist can talk to them through the scanner at any time. Having an understanding of what to expect helps ease their mind prior to starting.
Step 2: Practice Lying Still at Home
It’s also tough for kids to lie still during MRIs. If you can spend a bit of time practicing before going to the doctor’s office, that’ll make things go a lot smoother when the real deal happens. Make practice sound like a game — something fun instead of being forced to sit perfectly still all the time. Try saying ‘be a statue’ or ‘pretend you’re an astronaut rocketing into space’.
Try practicing lying down on the couch or in bed with quiet arms and legs. Keep body movement small to prevent pictures from becoming blurred. Imaging teams often use mock scan exercises to help children complete exams without sedation, so arriving prepared genuinely matters. Start off slowly at first, but gradually extend the amount of time that you keep your child still as well.
After doing a bit of practicing, your child should have a better idea what to expect during this scan day. As such, get their clothes ready in advance and take out any metal objects they might be wearing as well.
Step 3: Plan Clothing and Remove Metal Items
Once your child has practiced lying still at home, the next step in how to prepare a child for an MRI is dressing for scan day so nothing on the body interferes with the magnet. Choose clothing without metal fasteners—a simple sweatsuit or t-shirt and elastic-waist pants works well—so your child can either stay in those clothes or change quickly into a provided gown.
We’ll ask all three of you to get scanned at the doorway to make sure there’s no metal on your bodies. This includes jewellery, hair clips, buttons, hearing aids and anything in the mouth that can be pulled out, which will help keep us safe as we take the picture.
With metal sorted and clothing settled, there are a few familiar comfort items you should pack for the appointment.
Step 4: Pack Comfort Items
If you bring familiar items from home, such as a favorite blanket, stuffed toy, quiet toy, or picture book, they can give your child a sense of security during the appointment. The idea is that these things remind the child of being at home where he might have a degree of normalcy in his life prior to the test.
We’ll check all equipment that goes into the MR Suite to make sure there is no metal in it and you can relax while we do this. Try not to be too nervous. Pack some of their favourite things such as a soft pillow or a small music player with head phone so they have something relaxing to listen to during the test.
When you arrive at our facility, we’ll chat about your child’s needs because then we will be able to adapt everything based on his/her level of comfort and cooperation.
Step 5: Discuss Sedation and Contrast Options
Now that all his things have been packed up, it would be time to discuss what the care team will need in order to keep him comfortable and still during the scan. Sedation is not something you can just show up for – there must be separate arrangements made ahead of time to prepare for sedation, recover from it, transport the patient home, etc., so you may bring these concerns up before going into the scan room.
We also confirm the scanner type is the right fit for your child’s needs. Open or wide-bore scanners aren’t one-size-fits-all, so we’ll discuss which option best supports the exam’s clinical goals. For infants under six months, the feed-and-swaddle technique lets us capture clear images while they sleep, and programs using mock scanner training and Child Life specialists have achieved a 0% sedation rate across nearly 2,000 exams.
If there will be any contrast used during your appointment, then talk to the people caring for you about how this may happen and make sure that they tell you what to expect.
Step 6: Plan Scan Day Arrival
It’s best to arrive at the imaging center at least 15 minutes before your scheduled appointment to allow time for check-in, safety screening, and any final questions. This buffer helps you and your child settle in calmly, which can ease nerves before the scan.
- Bring all required documents: insurance referral, imaging order, ID, and any prior imaging or medical records.
- Confirm sedation details: If sedation is planned, ensure you have transportation arranged and follow all pre-scan instructions from your clinician.
- Wear comfortable clothing: Choose loose, metal-free attire to simplify the screening process.
- Double-check center hours: Verify the location’s hours and parking options to avoid rushing.
- Arrive early to set a relaxed tone: A calm start helps your child feel more comfortable during the preparation and scan.
If you start out relaxed, this will make the scan experience smoother for your child.
Step 7: Support Your Child During the Scan
Once your child is settled in the scanner room, our technologists will screen everyone for metal before allowing entry. Staying calm and present, where permitted, helps your child remain still, which is their most important job during the scan.
This machine makes some fairly loud noises. Your child will be provided with earplugs or earmuffs. We will communicate with your child using the intercom and/or agreed upon signals if they need to adjust positioning mid-scan. It takes approximately 30-45 minutes to complete the procedure which does require the cooperation of a patient child. Please follow the technologist’s instructions about where to wait or stand so the process stays smooth and safe for everyone involved. The sound levels can be over 100 dB, so keeping your child comfortable with the provided protection is key to a successful scan.
Troubleshooting Common Scan Day Challenges
Even if you’re ready for anything, there may be things that come up during the scan day when we start testing. If that happens, don’t worry because our team will assist both you and your little one throughout the process.
The MRI is too loud for my child.
Children may find MRI scans startling because MRI scanners can exceed 100 decibels during operation. You should speak with the scheduling staff about ear protection or child-sized headphones to help your child feel more comfortable during the scan.
My child can’t stay still long enough.
If your child struggles to hold still, mock scanner practice or structured preparation can often help avoid sedation. Our team has used these methods to achieve 0% sedation rates across nearly 2,000 pediatric exams, keeping the experience calm and safe for your child.
My child is anxious or claustrophobic.
Let our scheduling team know about any anxiety or claustrophobia before the appointment so we can plan accordingly. While open or wide-bore scanners may help, clinical needs always determine the best equipment for the exam — we’ll work with you to find the right fit.
There’s a problem with my referral or order.
Make sure both the referral form and your image ordering forms are filled out completely in advance before you come here for your visit. Should there be something missing when you arrive, call our office at (844) 641-2111 to have this addressed prior to your appointment time if possible.
Call us on (844) 641-2111 if anything happens. We’ll help out all the time, whatever problems come up in this whole process.
Frequently Asked Questions
How can I explain the MRI machine and its loud noises to my child?
The MRI machine looks like a big tube that your child will lie inside while pictures are taken. It is completely safe and nothing will touch or hurt them during the scan. The loud banging, knocking or thumping sounds are normal and occur when the machine is taking pictures. Earplugs or headphones are provided to protect your child’s hearing during the scan.
Should I practice lying still with my child at home before their MRI appointment?
Yes, practicing lying still at home helps prepare your child for the MRI. Make it a game, such as pretending to be a statue or an astronaut, and gradually increase the time spent still. This reduces movement during the scan and can help avoid the need for sedation.
Can my child bring a favorite toy or blanket into the MRI scan room?
Yes, familiar comfort items like a favorite blanket, stuffed toy, quiet toy, or picture book can be brought into the MRI scan room. These items help your child feel secure during the appointment. All items are checked for metal before entering the scan room.
Are there specific clothing or metal restrictions I should be aware of for my child’s MRI?
Choose clothing without metal fasteners, such as a simple sweatsuit or t-shirt and elastic-waist pants. Remove all metal items, including jewelry, hair clips, buttons, hearing aids, and anything in the mouth. A gown will be provided if needed, and everyone will be screened for metal at the doorway.
Will my child need to be sedated or given contrast dye for their MRI scan?
Sedation requires advance planning with a physician’s order, preparation instructions, a recovery plan, and transportation arrangements. Contrast dye use depends on the clinical needs of the exam. The care team will discuss these options with you before the scan.
Calm, Confident Scan Days Start with Preparation
Even common scan-day worries are manageable when families take time to prepare. Planning ahead—especially when sedation or special accommodations may be needed—helps parents know what to expect for preparation, recovery, and transportation.
The technologists that work in our centre employ several child-focused techniques, including educating kids about what to expect, performing practice scans, teaching them how to relax, and other comforting measures, to reduce the need for sedation. We take great care to thoroughly screen all people who enter the scanning room to ensure their safety before you begin.
Arizona & Texas parents – reach out to our scheduling staff if you want to know more about preparing your kids for MRIs, and discuss which types of scanners will be most comfortable for them. Speak to your doctor first before making any medical decisions! Results could differ from what we say here, because everyone is different.
Talk with Our Imaging Team
You now have a clear roadmap for preparing your child for an MRI, from explaining the machine’s loud noises and practicing lying still at home to packing comfort items and planning scan day arrival. As this guide has shown, good preparation can often reduce a child’s anxiety and may even lower the chance that sedation is needed. Every child and every exam is different, so it helps to talk through your child’s specific needs with experienced staff before appointment day. Arizona Advanced Imaging has served families since 2001 from its Tempe, AZ location at 1775 W University Dr, Suite 127, with accredited imaging centers across Arizona and Texas. Our team can answer questions about scanner options, safety screening, and preparation for your child’s exam. Call (844) 641-2111 to speak with our scheduling team about your child’s upcoming MRI. For any diagnosis or treatment decisions, always consult your child’s healthcare professional.